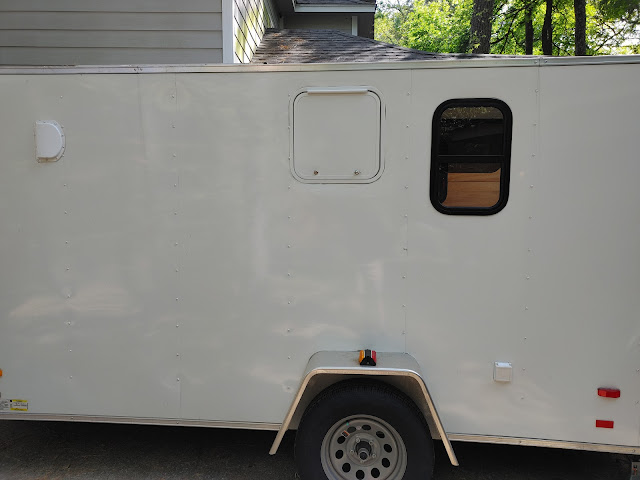
Insulation
The first thing we did was insulate the trailer, which was a fairly straight forward process. First, we removed the plywood from the walls. Ours were attached with self tapping screws that came out easily.


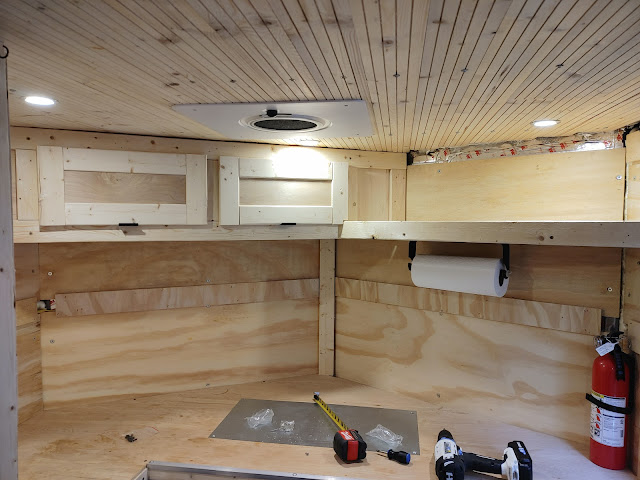
Once the wood was off, we installed Rmax R-Matte Plus-3 3/4" thick polyiso foam sheets. For the install, we cut the sheets down to fit between the z channels. The sheet was held in place on one side of the z channel lip, then pressed against exposed screws that hold the outside aluminum siding on the other side. We used cans of spray insulation to fill any gaps and help hold the sheets in place. Once the spray insulation dried, we used a small saw to cut the foam down to the wall. Once we were happy with position and spray foam trimming, we used 3M foil duct tape to close up each sheet.


The process for installing insulation was easy, but time consuming. I would estimate 2 days of work. We did all the walls, the ceiling and the ramp door. We did not insulate the floor and so far it has not been an issue. If we were camping in the snow I'd consider it. On our trips this year we saw temps in the low 30's up to over 100 and this insulation has worked very well with our heating/cooling solutions.
The photo of the roof installation was taken after we had made some progress on framing the interior. It was helpful to have the insulation installed first, but if starting over, we would probably start with electrical wiring. It's a lot easier to do without wood or insulation in the way.
Next up - interior layout and framing.

Comments
Post a Comment